Alright, so here's the story behind these...
So I guess we have this "tradition" at our school where the lower class men bake for the upper class men. So this week the Sophomores had their "Sophomore Spirit Day" (Why only they get an entire day off to celebrate being sophomores... I don't understand) BUT ANYWAYS...
So guess who had to bake for them? *points to self* this gal. (Okay theoretically not just me, but you get what I'm saying)
Pretty much I looked at the list to see what everyone else was bringing and this was the list (I kid you not)...
Brownies
Cookies
Brownies
Cupcakes
Chocolate Chip Cookies
Brownies
Cupcakes
Cookies
Cookies
and the list goes on similarly for the all the 56 freshmen that signed up...
well I knew just then what I was NOT going to bake
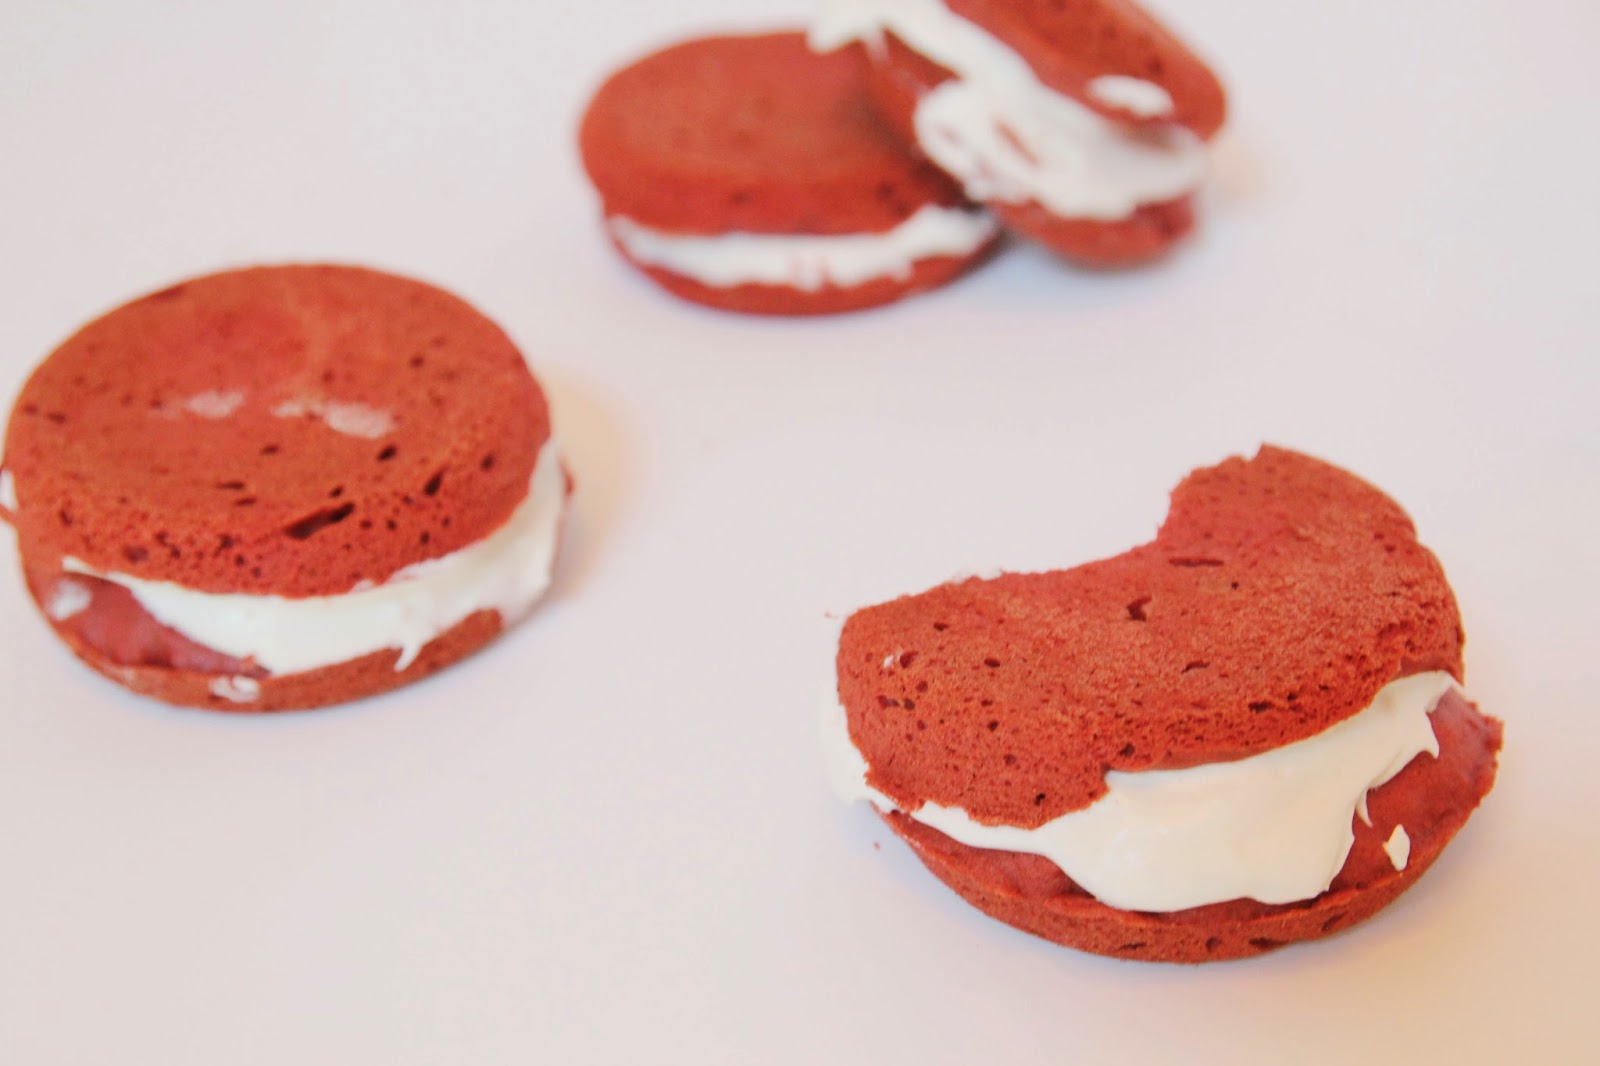
I'v always had a thing for whoopie pies, I'm not really sure but I love the idea of bite sized cake with marshmallowy frosting in the middle. The ironic part is that I don't even like red velvet that much, but I never baked it before. It wasn't like I was going to eat these anyways (lets hope the sophomores like red velvet)
For this recipe, I have a whoopie pie pan at my house, so I used that. If you don't have one I'm pretty positive that you can still make them without it.
I got this recipe from Better Homes and Gardens and you can find it here.
Directions
- Preheat oven to 375 degrees F. Line baking sheets with parchment; set aside. In medium bowl combine flour, cocoa powder, baking soda, and salt; set aside.
- In large mixing bowl beat butter on medium to high 30 seconds. Beat in brown sugar until light and fluffy. Beat in egg and vanilla. Alternately add flour mixture and buttermilk, beating after each addition just until combined. Stir in food coloring.
- Spoon batter in 1- or 2-inch diameter rounds, about 1/2-inch high on prepared baking sheets, allowing 1 inch between each round.
- Bake 7 to 9 minutes for 1-inch cookies or 9 to 11 minutes for 2-inch cookies, or until tops are set. Cool completely on baking sheets on rack. Remove cooled cookies from baking sheets.
- To fill, dollop Whoopie Pie Filling on flat sides of half the cookies. Top with remaining cookies, flat sides down. Makes 60 one-inch or 42 two-inch cookies.
Ingredients
Directions
- In medium mixing bowl beat butter and cream cheese until smooth. Fold in marshmallow creme.
*disclaimer* again, this is NOT my recipe, and I am not going to take credit for it, so if you want to try it I suggest going to the website to print it out from there. (I just copied and pasted for a quick read)
These pies (would you even call it that?) turned out so good and you should definitely try it out over memorial day weekend! WARNING they are messy:)
Talk to you soon
Talk to you soon
XO
Lauren